Monday, December 15, 2014

Methi Corn Pulao

Prepared this tasty pulao a week back. It turned out so well and the mild methi flavor  and aroma in rice was so tempting. Even my kid dint complain about bitter taste.


Lets see the recipe now.

Ingredients:

Basmati Rice - 1 cup
Methi leaves - 1/3 cup (tightly packed)
corn - 1/2 cup
Onion - 1 small
Green chilies -2
Ginger - 1/2 inch piece (finely chopped)
Garlic - 2-3 cloves (finely chopped)
turmeric powder - a small pinch
salt- as per taste
Oil -2-3 tbsp
coriander leaves - a few
cashews- a few


Dry Garam masala:

Fennel seeds - 1 tsp
bay leaves - 2-3
anistar - 1
cloves -4
elachi - 2-3
cinnamon - 1/2 inch stick
jeera/cumin - 1/2 tsp


Preparation:

1.Wash and soak basmati rice for atleast 30 mins.
2. Clean and chop methi leaves and keep aside.
3. In a pressure pan / cooker, heat a tbsp of oil and add the dry garam masala items listed above.
4. add cashews and fry for a while.
5. Add finely chopped ginger and garlic and saute.(dont let it burn)
6. Add lengthily cut onions, green chilies and saute  until they turn soft and brown.
7. Now add corn, chopped methi leaves and saute well. onions and methi will mix together.
8. add a pinch of turmeric, soaked rice and saute for a minute.
9. In the mean time measure required water (i used 1:2 cups) and bring to boil.
10. Add boiling water to the rice mix, add salt and close the lid.
11. Leave it for 2 whilstles and switch off the flame.
12.Let it rest for 10-15 mins and gently fluff the rice with fork.
13.Add chopped coriander leaves and serve hot with Raitha or papad.


Notes:
1.If you like methi taste, you can add a little more of it.
2.You can substitute chopped ginger garlic with ginger garlic paste.
3. Adding boiling water to the rice gives fluffy pulao, than the normal / cold water.

Wednesday, December 10, 2014

Lemon Poha / Lemon Aval

Aval is my favorite in any form. Most of the Lazy day's breakfast / evening snack will be based on Aval / Poha only. It is so simple to make in minutes. Last weekend I prepared Lemon Poha for breakfast and my kid loved it. It was finished just in minutes.


So thought of sharing this simple recipe here.

Ingredients:

Aval / Poha - 2 cups
Lemon - Half of medium size
Red chili - 1 (increase if you prefer spicy)
Mustard seeds - 1/2 tsp
Urad dal - 1/2 tsp
Peanuts - 1 tbsp (optional)
turmeric - 1/8 tsp
salt- as per taste
Curry leaves - a sprig
Oil -1 tbsp


Preparation:

1. Clean and wash Aval in colander with running tap water for 45 sec to 1min.
2. drain water and keep it aside.
3.Heat oil in a kadai /pan and add Peanuts and saute until they turn light brown. Then add mustard seeds, urad dal, red chili, curry leaves one by one.
4.saute for  a min, (dont let the ingredients burn) and add turmeric powder and little salt. Give a quick stir and switch off the flame.
5. Now add lemon juice from half a lemon.
6.Add the washed Aval and stir well.
7. Now switch on the stove and stir for a minute. (Just the aval should become hot) Do not cook for more time. Adjust salt by tasting now.


Notes:
1. If the Aval is not tangy add another tsp of lemon juice.
The lemon which i used was Juicy and medium tangy.
2.Turmeric tends to burn quickly,so add the turmeric in hot oil, stir quickly and switch off the flame.
3. It is important to on the flame and stir for a minute at last / until the poha is hot, otherwise, the poha will be raw in taste and smell.
4. If you cook more time after adding lemon, it will turn little bitter.
5.Salt and lemon can be added anytime even after cooking so adjust if needed.


Friday, December 5, 2014

Pori Urundai

Karthigai Deepam Wishes to you all.
Hope everyone havin fun lighting up Deepam, candles at home. It is an exciting festival for us in childhood (Even Now). We will be expecting this day from deepaavali and preserve some night crackers. And it is another Festival with lots of eatables. Mom will be preparing  "kozhukattai vilakku", rava appam,vadai, and other snacks to offer.

Though we cannot do much outside here, we are lighting few candles and Oil lit lamps at home safely. :)

Now lets move on to today's Recipe. No karthigai deeapam gets fulfill without these Pori Urundai.
It is really simple to make.

Ingredients:

Pori / Puffed Rice - 2 cups
Jaggery powder- 1/4 cup
Water - 1/8 cup or little less than 1/4 cup (just to immerse jaggery)
Elachi powder - 1 pinch
Dry ginger / Sukku powder - 1 pinch
Ghee - 1 tsp (to grease palms)

Preparation:

1. Check for any impurities in Pori, clean it and keep aside.
2. In a large pan/Kadai, add jaggery and water and let it boil.
3. In the mean time, heat another pan and slightly dry roast the Pori. Do not change color, just a min or two will be sufficient. Transfer to a plate and let it cool down.
4.Now check the consistency of Jaggery mix, If you put a drop of it in water, it should not dissolve, that is the rite consistency.
5. Add pori to the jaggery mix and switch off the flame. Stir well and quick.
6.Make sure the jaggery is coated well on the Pori.
7.When it is hot / warm itself, grease your palm with ghee and make balls.


Store them in air tight containers.

Notes:
1. You need to be real fast to make the balls, So if you are new making this, first make in little quantity as mentioned. If you have a helping hand to make balls, you can increase the quantity for sure. I am comfortable with this quantity so I go with this.
2.Adding Sukku powder is optional, But we used to add sukku in almost all Jaggery based recipes.
3.Frying pori is optional, but it gives crispiness for longer time.


Tuesday, December 2, 2014

Tiffin Sambar (Using Moong Dal)

I have recenly shared an Tiffin Sambar version with Toor dal. This one is with moong dal. Almost the recipe and the process will be similar except few steps and ingredients.


Ingredients:

Moong dal - 1/2 cup
Water - 3 cups ( to cook moong dal)
Mixed veggies of your choice - 1.5 cups (I used, brinjal, carrot, beans, potato, drum stick)
Tomato -2
Pearl Onion- 4-5 (if using regular bellari Use one medium sized)
Turmeric - 1 pinch
Melted Ghee - 1 tsp
Jaggery - 1 tsp
Oil -1 tbsp
Tamarind - small peanut size (soak in water) or 1/4 tsp of concentrate (optional)


Roast and Grind
Channa dal - 1.5 tbsp
Coriander seeds - 1 tbsp
Cumin seeds - 1 tsp
Fenugreek - 5-6 seeds
Red Chili -1-2 (adjust to your taste)
Oil - 1 tsp

To temper:

Oil - 1tbsp
Mustard seeds - 1/4 tsp
Urad dal - 1/4 tsp
Cumin seeds - 1/4 tsp
Hing - a pinch
Curry leaves - 1 sprig

Preparation:
1. In a vessel, heat 3 cups of water, when it starts rolling and boiling add washed moong dal to it and half close with a lid and cook until the dal cooks well and becomes mashy.
2. In a pan ,Heat a tsp of oil and roast channa dal, coriander seeds, fenugreek one by one.
3.When they are almost(75%) roasted, add cumin seeds and red chilies and roast well. Switch off flame and let it cool down.
4. In the mean time, in another pan, heat a tbsp of oil and saute chopped onions.
5. when raw smell in onion leaves, add all the cut veg, except brinjal and tomato, saute for few mins.
6.Add tomatoes and saute gently. At last add cut brinjals and turmeric powder  and saute well.
7. When the veggies are half cooked, add 3 cups of water and check for salt. let it cook well.
8. Grind the roasted ingredients into a fine powder and add it to the veggie pan.
9.Now it will start thickening a little. Mix well and quick so lumps wont form.
10.Let it cook for few mins, so the raw smell in masala leaves.(if any), If required add Tamarind water. (add tamarind if only the tomatoes are not sour enough for sambar.Otherwise discard tamarind)
11. Now add the cooked dal and mix well. cook until your required consistency. (if it is little thick add little water to adjust consistency).
12. Before switching off the flame mix 1 tsp of jaggery and mix.
13.In a tadka pan heat 1 tbsp of oil and add items listed in "To temper", and add it to the sambar.
14. Garnish with Chopped coriander leaves , Ghee and serve hot with your favorite idli or dosa.


I prefer this sambar for mini idlies, sambar vadai kind of dishes. Suits well for all Pongal, Dosai varieties.

Note:
1. I added just one red chili while grinding, it was perfect spicy for my daughter's taste. You can follow the same measurement if your kids doesnt like spicy foods.
2. For spice lovers, either you can increase the red chilies or add 1 or 2 green chilies while tempering.
3. It will look watery when it is hot, but that consistency suits perfect for soaking mini idlies or vada.
If you like it thick, add only 2 cups of water to cook the veggies, if required, water can be added at final stage.
4. I prefer cooking moong dal in stove top than pressure cook. Even you can add pressure cooked moong dal.(2-3 whistles will be enough to cook)


Sunday, November 30, 2014

First Blog Anniversary and Giveaway

Hello Folks,

Its Party time for our blog "Easy and Simple Foods". Yes, we are celebrating the first blog anniversary on December 31st. So Planning to have the first event in my space. Of course with giveaways.

First of all I would like to thank everyone who is supporting and encouraging me.  A special thanks to my Blog visitors, followers,friends and co- bloggers, It really means a lot for me. As a beginner in blogging as well as cooking, It is so great feeling when someone appreciate our efforts. Blog world is one of my favorite hangout place, where I learn and share a lot. Its been one year journey and I did a satisfying job for myself along with everyday busy schedule and other barriers.I Would try to do my best in the coming years too.


This is my first event as well as Blog anniversary,So I would invite everyone to participate and support. Whether you have a blog or not, there is an equal chance to win the giveaway. I would really be glad to have everyone's participation. Like all the other events, even mine has few rules and guidelines. Please check them below.

Rules:

1. Should be my follower in my blog, Facebook, and Google+.
2. Post about this event in your Facebook page and Google+ page as public post. Tagging your friends is not mandatory but appreciated.
3.All the posts must be linked back to this event page. Usage of Logo is mandatory in all the posts linked. It helps spreading a word about the event
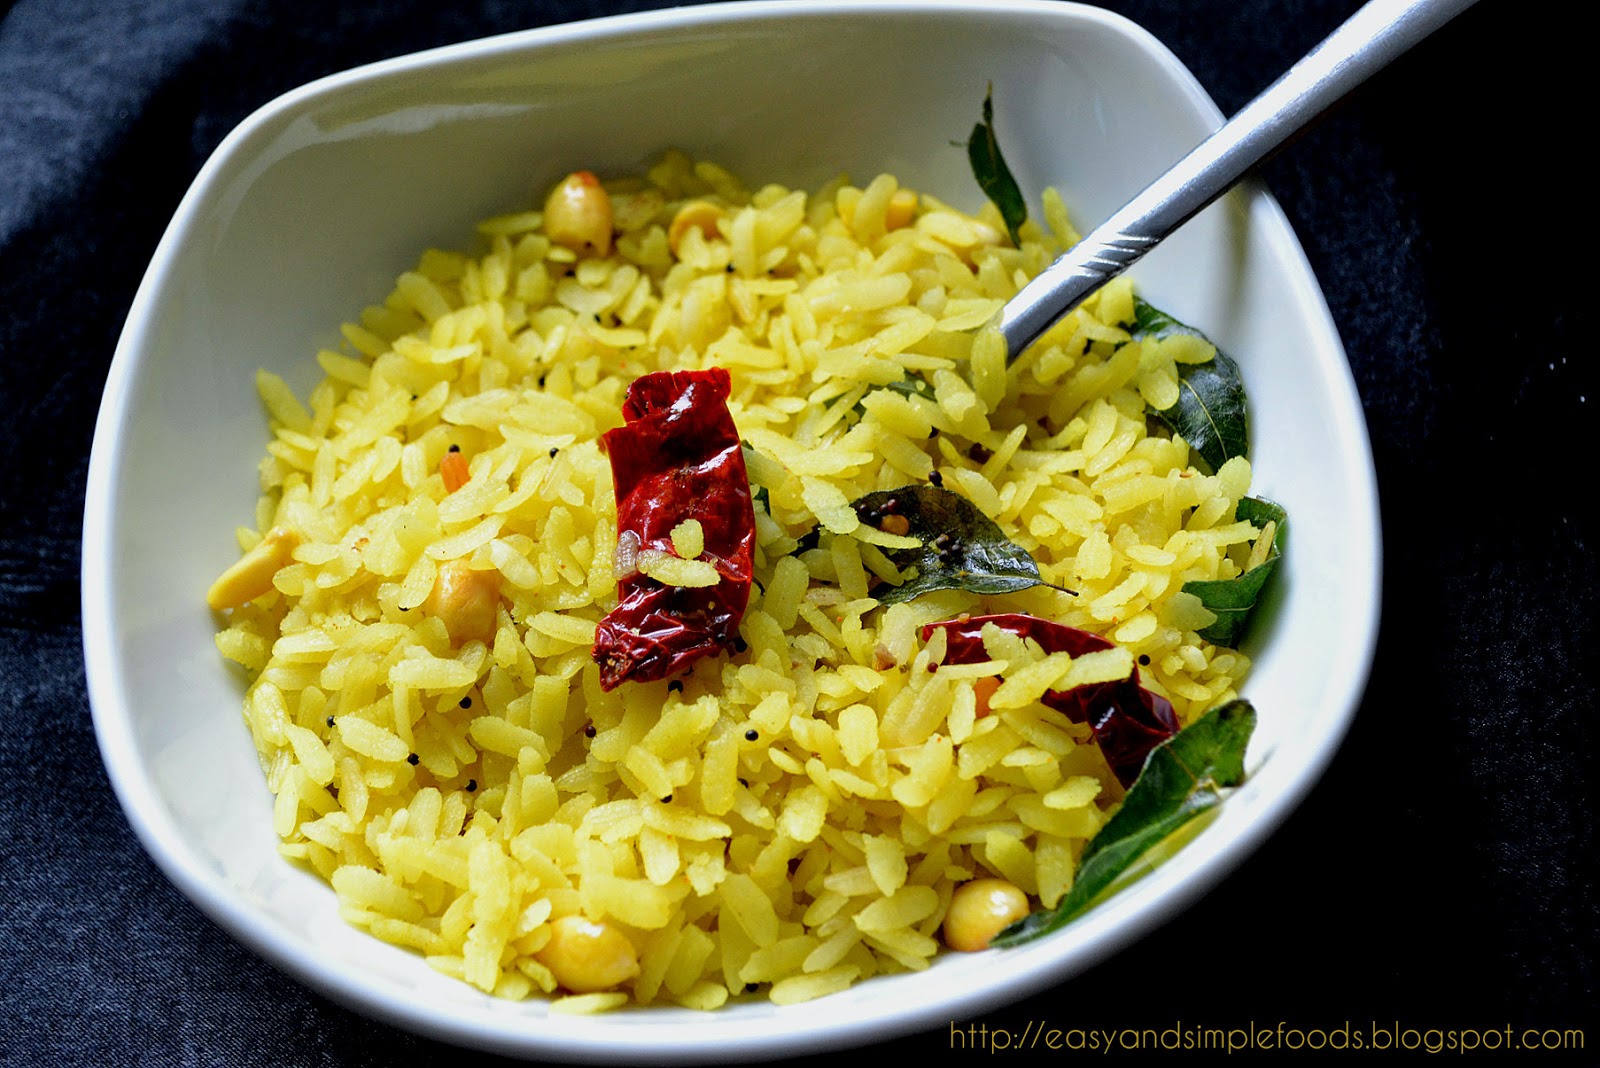
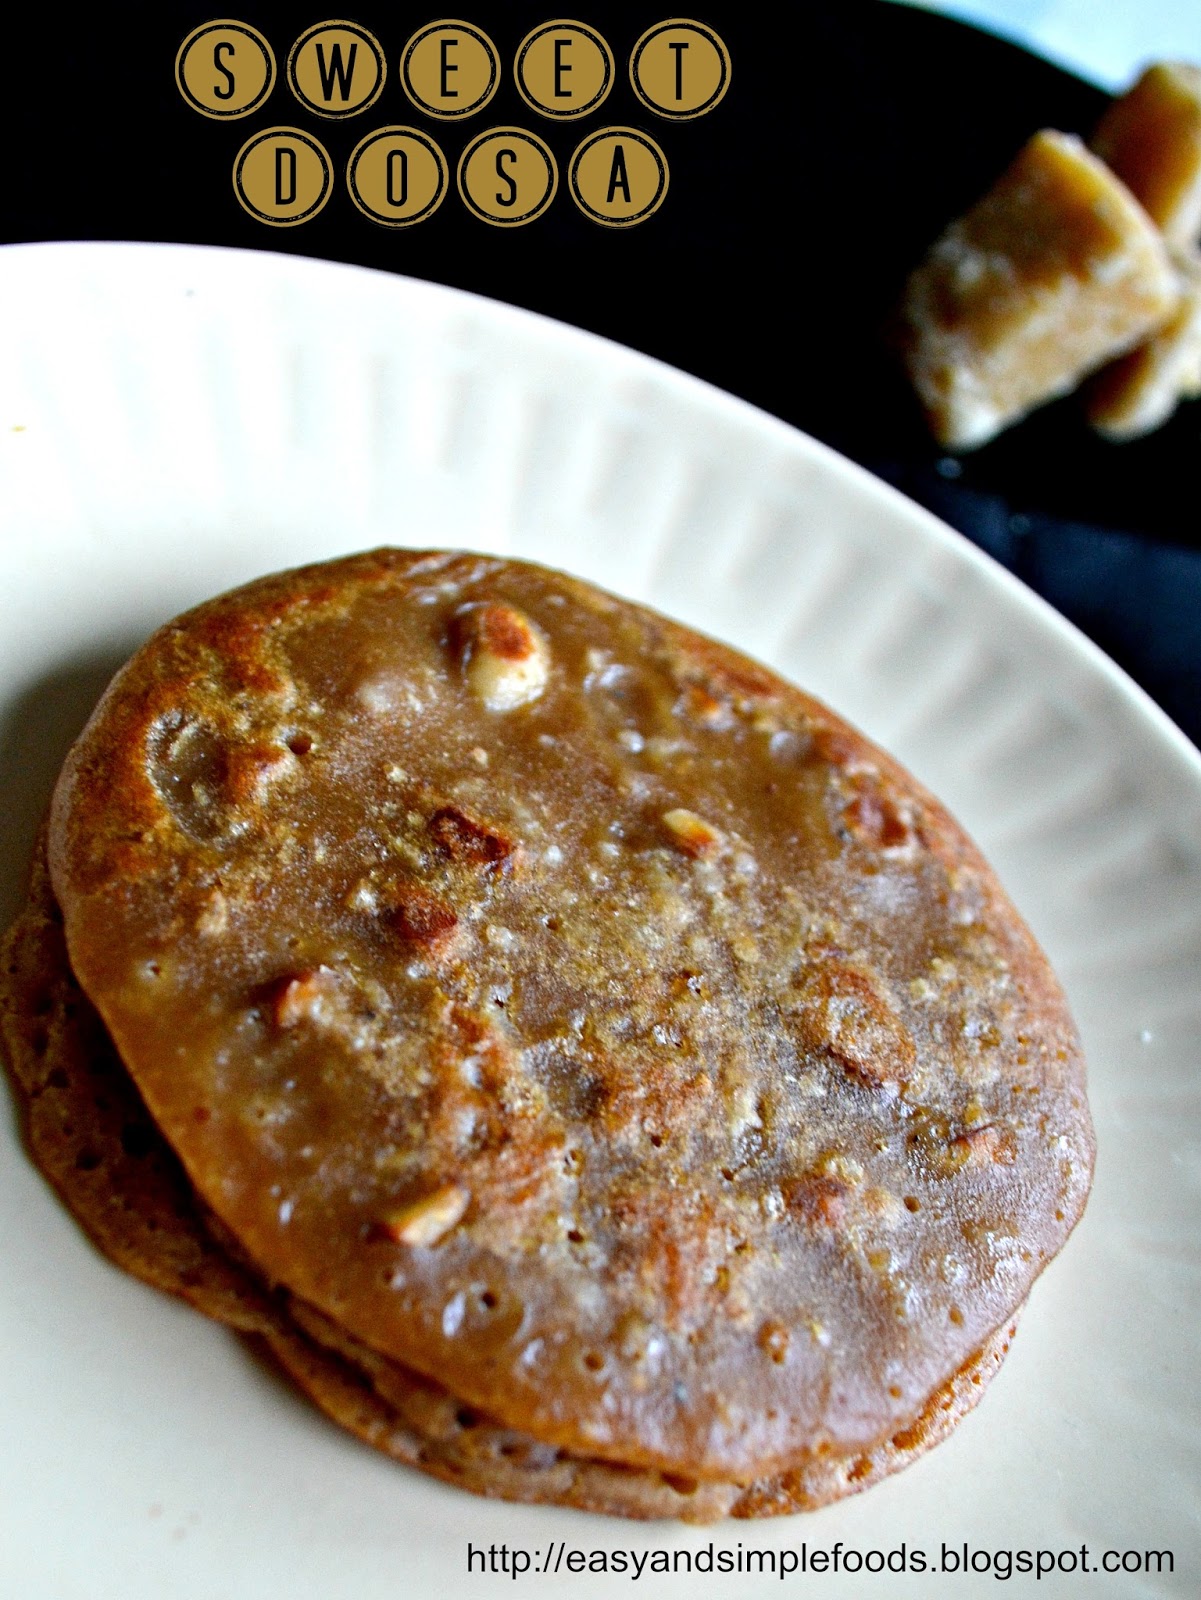
4. Only 2 archived recipes can be posted. No limits for new entries.
5. Event goes between December 1st 2014 to December 31st 2014. You can Link the recipes only until 30th December.
6. 31st December is Voting day for the recipes. You can do only one vote from a unique IP, so if you want to have more chances of winning the votes, you can invite your friends to vote for you. Minimum Votes to be eligible for a recipe is 25.There is a Giveaway for the recipe which receives more votes. If  two or more recipes have the same no of votes, winners will be chosen randomly among them. If no recipe gets minimum votes, this criteria will be cancelled.
7.Event Round up and Winners will be announced on Jan18th 2015.
8. Leave a comment in this post with the details of, from which username / id you are following me. This helps to verify your entries.

Following all the rules are mandatory for both bloggers and non-bloggers. The entries which didn't follow the rules will be disqualified for the giveaway.


For Non-Bloggers,

If you like to participate in the event and do not have a blog? No problems, You can send me the recipe and the pictures with all the details, I will happily post it in my space as a guest post and link to my event. So you will get a fair chance to have a number for your recipe and a chance to win the Giveaway :).
You can email your recipes to" easyrecipesforbeginners@gmail.com "


Ok, Now the giveaway part, I have few categories to encourage our participants.
One winner will be selected from each category.

1. "Reader's Choice" (Votes by Readers)
As said above, the readers are the judges here. The recipe which gets more votes will win this category.

2. A random number winner
A random number will be selected from the whole entries,  (The person who wins the Voter's choice will not be eligible for this category,)

So, picking the winner goes by this order: 1. Readers choice 2. Random pick

Ok..What are the giveaway gifts?

When I was discussing with my friends about this, most of them suggested gift cards. We will never know, what people like or what they have or dont have. As this is my first grand event, I wanted to make it simple and easy at the same time the giveaways must make the participants happy. If it is gift card you can get anything you plan.  As this is holiday season, I hope you will also like this Idea.

For the  winners who live in USA or other foreign countries - $20 amazon e-gift card or macy's e- gift card of your choice..
For the winners who lives in  India, Rs.1000 worth ICICI Prepaid gift card or Visa/Mastercard gift cards(Gift cards or e-gift cards) of your choice.

You want to be the one among the winners?
What are you waiting for? Start Linking your yummy recipes. :)

Note:
1.Gift card provides are subject to change due to availability.
2. EST timings are followed.


Monday, November 24, 2014

Sweet Wheat Dosai

In my school days, sometimes mom prepares this dosai for evening snacks. This can be prepared quickly and easily with the ingredients available at home. Few days back I prepared this as after school snack for my daughter. she tasted it for first time and loved it.
It is rich in fiber and Iron as we add jaggery.

Lets see how to prepare it.

Ingredients:

Wheat flour - 1/2 cup
Jaggery powder - 1/3 cups
water - 1 cup
elachi powder - 1 pinch
Dry ginger powder / sukku powder - 1 pinch
cashew nuts - 1/2 tbsp ( chopped)
grated coconut -1 tbsp
ghee -2 tsp


Preparation:

1.Add Jaggery, sukku powder with water and bring to boil. (no need of string consistency)
2.Add elachi powder, flour and jaggery water and mix to a batter consistency
3. Now roast cashews, coconut in a tsp of ghee and add it to the batter.

4. Now heat the pan and make small and thick dosai (like oothappam thick)
5. Sprinkle little ghee on the edges and cook well on both the sides.

Serve Hot or warm.

Tips:
1.Always keep extra 1/2 cup of hot water ready. In case if the jaggery mixed water is boiled for little long time that wont be sufficient to have batter consistency.
2.Instead of grated coconut, tiny coconut pieces can be added.
3. The ratio given is medium sweet, adjust according to your taste.

Linking this post to Varada's event


Friday, November 14, 2014

Aloo Channa Kuruma

Aloo Channa kurma is suitable for Chapathi or roti varieties. I like to add channa in my family's diet now and then. It is rich in protein and kids love it for sure. It just needs a little planning to prepare. Lets see how to prepare this Kurma / Kuruma.


Ingredients:

White channa - 1 cup (wash and soak in previous night or at least 8 hrs before cooking)
Potato - 2 medium
Onion - 1 big (finely chopped)
Tomato - 1 big(finely chopped)
Ginger garlic paste - 2 tsp
green chilies -2
Turmeric powder - 1 tsp
chili powder - 1/2 tsp
Garam masala - 1 tsp
coriander powder - 1/2 tsp (optional)
Curry leaves 1 sprig
Cashews - 10 nos
Coriander leaves - a few
oil -1 tbsp
salt -as per taste

Dry garam masala;
fennel seeds - 1 tsp
ani star - 1 flower
cinnamon stick -1 inch
bay leaves - 1
elachi -1
cloves -2


Preparation;
1. Wash and soak white channa for over night.
2. Soak cashews in water for 1 hour.
3. Pressure cook channa and potato separately for 3-4 whistles.
4.In a kadai, heat 1 tbsp of oil and add the dry garam masala items listed
5. Now add curry leaves, green chili, onions and saute until it turns transparent.
6. Add ginger garlic paste and saute until the raw smell leaves.
7. then add tomatoes and saute until they turn soft.
8.Mix turmeric, chili, coriander, garam masala to this mix and saute for a min.
9. Add 3-4 cups of water, salt and let it boil well.
10. In the mean time, drain water from cooked channa, Peel and Cut the potato as cubes and keep ready.
11. When it starts rolling and boiling add cooked channa and cubed potatoes and let it cook for 5-8 mins in simmer flame.
12. Grind soaked cashews into a fine paste and add it to the curry, and let it boil for few mins.
13. Once the kurma reaches the required consistency Switch off the flame and add chopped coriander


Serve hot with Chapathi or roti.


Notes:
1. Instead of adding water, you can use the drained water from cooked channa
2. Adding cashew nuts is my own preference. I prefer cashews than adding coconut.
3. If you need it more spicy, increase the green chili instead of chili powder.

Linking this recipe to Beulah’s First Blog Anniversary Give away @ FullScoops

Wednesday, November 12, 2014

Beetroot Rice

Hi friends, today I am going to share the Beetroot rice recipe. Beetroots are good for health and it is loved by kids. Some people doesn't like beetroots bcoz the sweetness of beetroot and the spices added while cooking might not matched. Luckily our family loves this veg either as cooked or raw.

Lets see how I prepared this rice.


Ingredients:

Basmati rice 2 cups
beetroot - 1/3 cups (1/2 inch pieces)
Green peas - 1/2 cup (optional)
Onion - 1 small
Tomato - 1 medium
ginger garlic paste  -1 tbsp
Green chili - 2
Garam masala - 1 tsp
salt - as per taste
Oil -  2-3 tbsp

Dry garam masala:
fennel seeds - 1 tsp
Cinnamon - 1 inch stick
cloves - 2-3
Elachi - 2-3
anistar - 1 flower
Bay leaves - 1 or 2


Preparation:
1. Wash and soak basmati rice for atleast 30 mins.
2. Chop onions and tomatoes lengthwise, and beetroot as 1/2 inch thick piece.
3. Heat 1 tbsp oil in pressure cooker, add the dry garam masala items listed above one by one.
4. then add sliced onions, green chilies and saute until it turns transparent.
5. Then add Ginger Garlic paste and saute until the raw smell leaves.
6.Now add sliced tomatoes and saute until they turn soft.
7. In the mean time drain water from soaked rice and keep aside for 5 mins
8. Add  chopped beetroot and green peas, garam masala powder and give a gentle saute.
9. add drained rice, salt and 3 &1/2 cups of water and close the lid.
10. Pressure cook for 2 whistles and keep it in simmer for 3-5 mins. then switch off the flame.

Once the pressure is released, fluff with fork and serve it hot with Raitha or any curry or salad.


what i would suggest to the people do not like beetroot poriyal or other dishes, to to cook it by avoiding chili powder or other masala, you may like the plain flavor of it. Or Make some sweet dishes like, beetroot halwa, beetroot Jam etc. But make sure to introduce the veggie to your kids


Notes:
1. Please use greenchilies, instead of chili powder.
2. No need to add any masala powders except a little amount of garam masala.
3. I have tried with masala powder and biryani powders and finally felt comfortable with this way as it dint spoil the actual taste of veggie.
4. Do not add more onions and beetroots. and follow the measurement
5. adding green peas is optional but recommended.

Linking this recipe to Beulah’s First Blog Anniversary Give away @ FullScoops

Monday, November 10, 2014

Paruppu Urundai Kuzhambu

Today I am going to share another kuzhambu variety which is easy to make and healthy for everyone. Always it gives hand when I am running out of veggies. There must be other ways of preparation, But I find it easy to prepare without much ingredients. I do not add coconut in it, if you like to you can add.


Ingredients:

Kadalai paruppu (Bengal gram) -1 cup
Thuvaram Paruppu - 2 tbsp
Onions - 1/2 of medium sized
green chili - 1
salt - a pinch
fennel seeds - 1 tsp
Oil - 1 tsp

For gravy:
Onions - 1 and 1/2 medium sized
Tomato - 1
Tamarind - a small gooseberry size (soak in 2 cups of water)
sambar powder - 1 tbsp
salt - as per taste
oil - 1 tbsp
Perungayam - a pinch

to temper:
Mustard seeds - 1/2 tsp
urad dal -1/2 tsp
curry leave - 1 sprig
perungayam - a pinch
oil -1 tsp


Preparation:

1.Soak both dals with enough water for atleast 2 hrs
2. Chop onion and tomato finely and keep aside.
3. In a pan, heat a tbsp of oil and saute 1 and 1/2 finely chopped onion until it turns transparent.
4. Then add finely chopped tomato and saute until they turn soft
5.Add sambar powder and saute for a while.
6. Then add the tamarind water, salt, another  2 cups of water and let it rolled boil.


7. In the mean time, drain water from dal and grind it in a mixer along with fennel seeds without adding water. (like how we grind it for paruppu vadai)
8.Add a pinch of salt, chopped onions, green chili, perungayam to the ground dal and mix well.
9. make medium sized ball and keep aside.
10. once the gravy starts rolled boiled, add the balls to it, and close with lid. leave it for 8 to 10 mins without disturbing it.
11. When  the balls are cooked, it will start floating.
12. Temper with the listed ingredients and switch off the flame.


Notes:
1. Coconut can be ground and added  to the gravy at last. But it is optional.
2. Make medium sized balls so they get cook quick.
3. Once prepared, let it stay for at least an hour before serving, so the balls will get the flavor nicely.

Linking this recipe to Remya's First blog annversay Event


Saturday, November 8, 2014

Peanut Balls/ கடலை உருண்டை

GroundNut / Peanut - Ground nut / peanut balls- Another Back to school snack recipe.Which is healthy and easy to make in minutes. Peanuts are good source of protein, and rich in magnesium iron and calcium, which are playing essential part in our kids growth. We love to eat it in any form. weekly once I make Steamed Peanuts in season, and try to add in the recipes like upma, and variety rices. So some how, we consume these nuts more often.


Made these balls too for Ganesh Chathurthi this year. As we were starting to a long trip on the same night, I could not post the recipe. Even after coming back some how missed these to post. So here the recipe for you.

Ingredients:

Ground nut / peanuts(without skin) - 1 cup (roasted / non roasted)
Jaggery powder- 1/2 cup
elachi powder - a pinch

Preparation:
1. If you use the roasted ones, just roast it for a minute. Just to make sure it doesnt have any moist in it. and keep aside. If it is non roasted, roast it in simmer until the nuts are roasted well in all sides.
2. Let it cool down completely.
3. then add it to the mixer and make it to powder, when it is half done, add jaggery and elachi powder, and powder it.
4.Spread it in a plate and make balls out of it.
5.Store it in air tight container and serve

Notes:
1. Non- roasted means not the fresh ones in shell. It is the dry de-shelled peanuts.
2. I prefer roasted peanuts for this, as it gives a fine powder consistency.
3. I have used non roasted as the roasted ones were not in stock.
4. You can make it to a fine powder or leave some crunch to much as i did.
5.Jaggery quantity, 1/3 cups will be sufficient if you do not want it to be too sweet.. (Mine is sweet tooth as you know :)))

Linking this recipe to Beulah’s First Blog Anniversary Give away @ FullScoops

Friday, November 7, 2014

Eggplant Fry

Eggplant Fry / Kathirikkai Poriyal, An easy to make yummy side dish for Rice Varieties. Especially I love this to have it with curd rice. There are many ways to make the dish, yet I like this simple way of making using Sambar powder.
You can substitute with chilly powder and coriander powder also.


I always want this poriyal without changing the shape of the long cuts, so I used to be extra careful while preparing this. At the same time i dont want to use more oil also. So I used to close the frying pan with lid and keep the flame in simmer, which helps me to get it done by the way i wish.

Ingredients:

Round Eggplant - 6-7 medium sized
sambar powder - 1-2 tsp (increase according to your taste. I choose this to be a mild spice one.)
salt - as per taste
Oil - 1 tbsp
mustard seeds - 1/2 tsp
urad dal -1/2 tsp
curry leaves - 1 sprig

Preparation:
1. Cut each eggplants into 6-8 the lengthwise pieces, and put them in water.
2. Heat a tsp of oil and add mustard seeds, urad dal, curry leaves one by one and saute for few seconds.
3.Now add the Cut eggplant pieces and saute them gently.
4. When the veggies starts to change color slightly, add salt, sambar powder, another tsp of oil and saute it gently.
5. Keep the flame in simmer and close the pan with lid. Use ladle occasionally to flip/saute veggie.(cook about 5-8 mins).
6. Once the veggie is cooked, remove the lid and gently flip the veggies. let it cook for another minute, then switch off the flame

Notes:
1. If you are using chili powder and coriander powder instead of sambar powder, add a pinch of turmeric.
2. Cumins can be added while tempering.
3.Make sure not to mash the veggies.
4.As you cook by closing with a lid, you will not need much oil.

Linking this recipe to Beulah’s First Blog Anniversary Give away @ FullScoops

Tuesday, November 4, 2014

Ellu Urundai / எள்ளுருண்டை

I was just checking the pics in my laptop today and found the pics of Ellu Urundai.. So thought of sharing it today.I have made these during Ganesh Chathurthi and dint get time to post it...  Ellu / Sesame is good for health if it taken in right quantity. Especially for children I prefer these kind of snacks instead of store bought ones.

You can consider ellu urundai for after school snack for kids. I still remember the ellu urundai which my aunt brings, when she visits us. Those were made using "ural - ulakkai" and the taste is unbeatable.


 I prefer making them in small quantities and making them fresh often instead of storing for more days.

Ingredients:

Sesame (black / white / brown) - 1/2 cup
Jaggery powder - 1/4 cup
Elachi powder - a pinch (optional)

Preparation:

1. Dry roast sesame and cool it down
2. In mixer jar add roasted sesame and pulse it for 10 seconds then add jaggery, elachi powder to mixer grinder and run for another few seconds or until they blend and powder well.
3. take the mix in a plate and make them as required sized balls, and store in air tight container.


You can just make these yummy balls in your afternoon leisure time and treat your family with Nutrients.
Notes:
1. Make sure to roast the sesame until it sputters, do not burn. roast in low flame
2. Let it cool down completly, otherwise when it mixed with Jaggery, it will start melting and the right texture would not be attained.
3.In-take in right quantity. Not suitable for pregnant ladies.

Linking this recipe to Beulah’s First Blog Anniversary Give away @ FullScoops

Friday, October 31, 2014

Rava Kesari

Hello Folks,Today i am gonna share Rava Kesari Recipe. This is the basic rava kesari which we will be preparing for birthdays, festivals, and family gatherings. I have borrowed the recipe from my mom and trust me if you are a beginner and worried about lumps in kesari, this is the perfect recipe for you. It has never formed lumps, and all time success recipe.


Ingredients:

Rava - 1 cup
Sugar - 1 and 1/4 cup
ghee - 3-4 tbsp or as needed (melted ghee)
water - 2 cups
Cashews -1 tbsp
dry grapes - 1 tbsp
tutti frutti  - 1 tbsp (optional)
saffron stands - a few
elachi powder - a generous pinch
kesari color -a pinch (optional)


Preparation:

1. Dry roast rava for few mins and keep aside in a plate.
2. Clean wipe the kadai and heat a a tbsp of ghee and roast, cashews, dry grapes, tutti frutti(if using) adding one by one.
3. In the mean time, measure 1 and 1/4 cup of sugar, elachi powder and mix in hands with the warm rava.
4. Measure 2 cups of water and add to the kadai, add saffron strand, kesari color .
5. Let the flame be on medium

6. when the water starts boiling (not rolling and boiling), simmer flame.
7. Now add the rava, sugar, elachi mix to the boiling water slowly.
8. (No panic, it will not form lumps) Then mix well with a long and flat spoon.
9. Add ghee little by little and stir well(preserve 1 tbsp of ghee), do not let it catch in the bottom.
10.When the rava is cooked, which means the water is completely absorbed, apply preserved ghee on top of the cooked kesari and let it rest for few mins.


Notes:
1. Using Tutti Frutti is not essential, I had few left over, so just used.
2. Sugar which I use is thin and fine, if your sugar is big crystals, you can use upto one and half cups of sugar.
3. I have sweet tooth, so i use this ratio, if you want less sweet, you can reduce. But do not go beyond 3/4cup.
4.Using more ghee is optional, if you have health issues, reduce the ghee.
5.It wont form lumps easily because, the rava and sugar is mixed and as sugar melts in boiling water, it gives some extra space when it is getting cooked. so it wont form lumps quickly.
6. Use melted ghee, which gives nice aroma, taste and takes less ghee in kesari
7. If you want to make slices, grease a plate / tray and spread the kesari evenly on it.Apply some ghee on top of it also. Let it cool down for a while, then make slices of needed shapes.

Absolutely delicious kesari will be ready to serve. It can be used in room temperature for  one or two days. Refrigerated and used for up to a week. dont forget to check Pineapple kesari recipe too.


Linking this recipe to
Beulah’s First Blog Anniversary Give away @ FullScoops
Wedding Anniversary Cakes and Sweets | HM Besties Event #02 ~ *- RecipesPassion -* with Haffa's kitchen Adventure